Cloud images are by far the preferred way to deploy VM Instances in mCloud, but at times the need to install from ISO may arise. Please keep in mind that this is an advanced process. This guide will attempt to detail the steps required to create and configure one in your mCloud Dashboard.
Please Note: instances generated from images made in this manner will need to have things like IP address, disk resizing, hostnames and SSH keys manually applied, and will most likely ignore cloud-init as well.
Log into mCloud at https://mcloud.micron21.com/
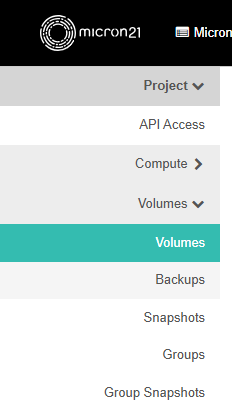
Navigate to Project > Volumes > Volumes
Click "+Create Volume"
On this page set the following details as required:
Volume Name: Enter the name you’d like set for the ISO,
Description: Enter the desired Description as required, or leave this field blank
Volume Source: From the dropdown, select ‘Image’
Use Image as Source: Set the appropriate source image for the ISO.
Type: Set the volume type you wish to use, leave the size as the default set by the ISO,
Availability Zone: Set the relevant availability zone from the dropdown. Usually, this will be “Kilsyth”.
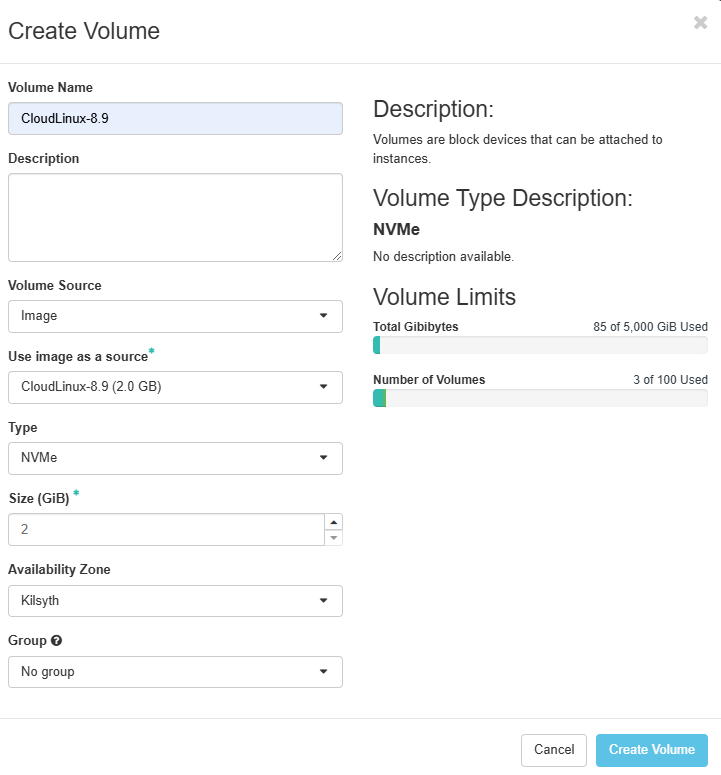
click "Create Volume"
Next, we will create a volume for the OS to be installed onto.
Click "+ Create Volume" again

Leave the volume source blank, as this will be an empty volume, then set the same details as above. Click "Create Volume".
Note; you can keep the size for this one small as this is an interim step and will be removed later in the article

click "Create Volume"
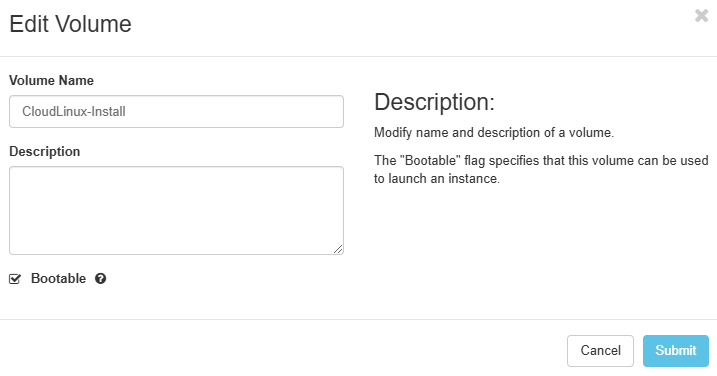
In the list of volumes, Click "Edit Volume" on the new blank volume
On the edit Volume page, tick the ‘Bootable’ tick box, then click Submit
Now we’ll be creating a temporary instance to install the Operating System. - Next, Navigate to Project > Compute > Instances
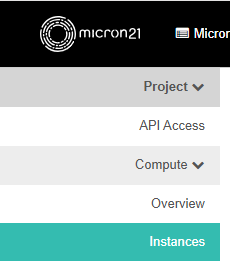
Click "Launch Instance"
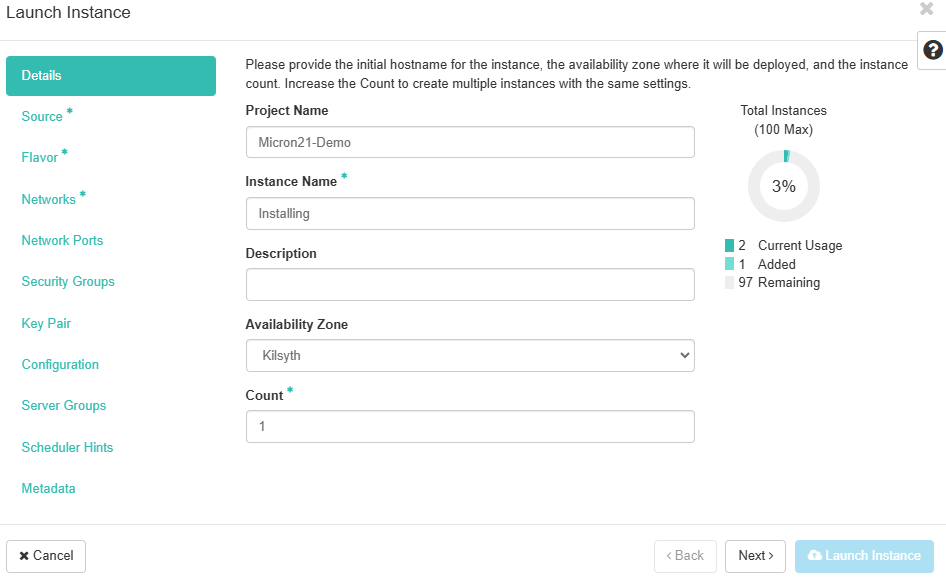
Enter a temporary name, and select the Availability zone selected in steps 4 and 6, and click Next
For Boot Source, select "Volume" then select the ISO volume we created earlier. Leave the empty volume unselected for now. And ensure the option to “0delete volume on instance delete” is not selected. Then Click Next

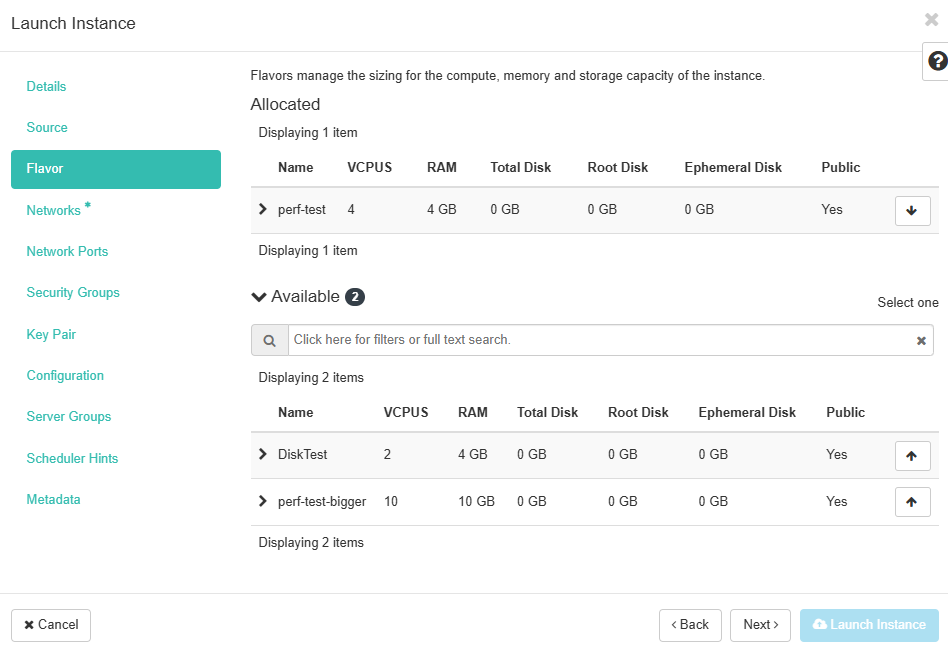
On the Flavor page, select the desired Resource limits as required.
Select the desired network.
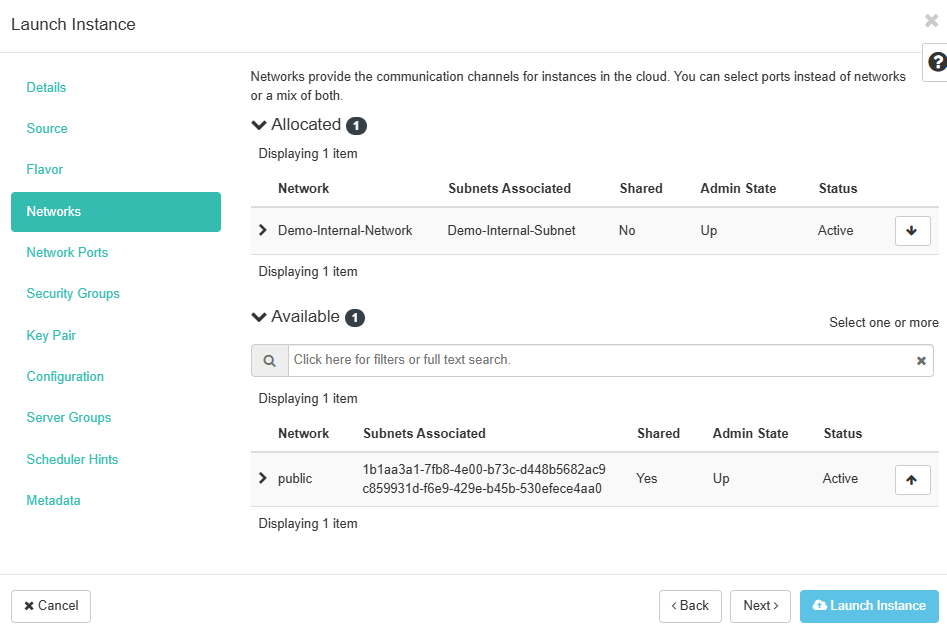
Note: Depending on the ISO you are installing, this may need to match the final network you’d like associated with VMs created using the new Image
Click "Launch Instance" and allow some time for the instance to be created
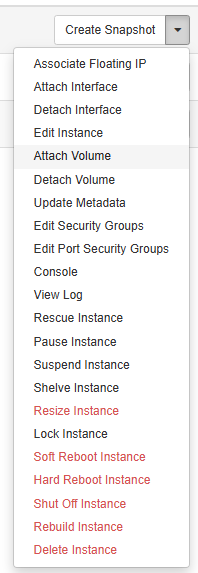
Once the Instance has finished being built, select the drop-down menu on the right and select "Attach Volume"
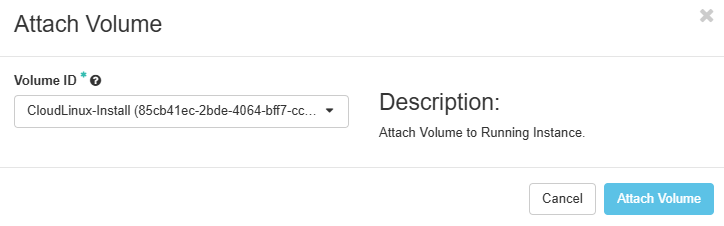
Select the empty volume you created previously, then click "Attach Volume"
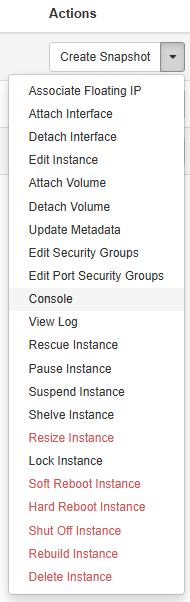
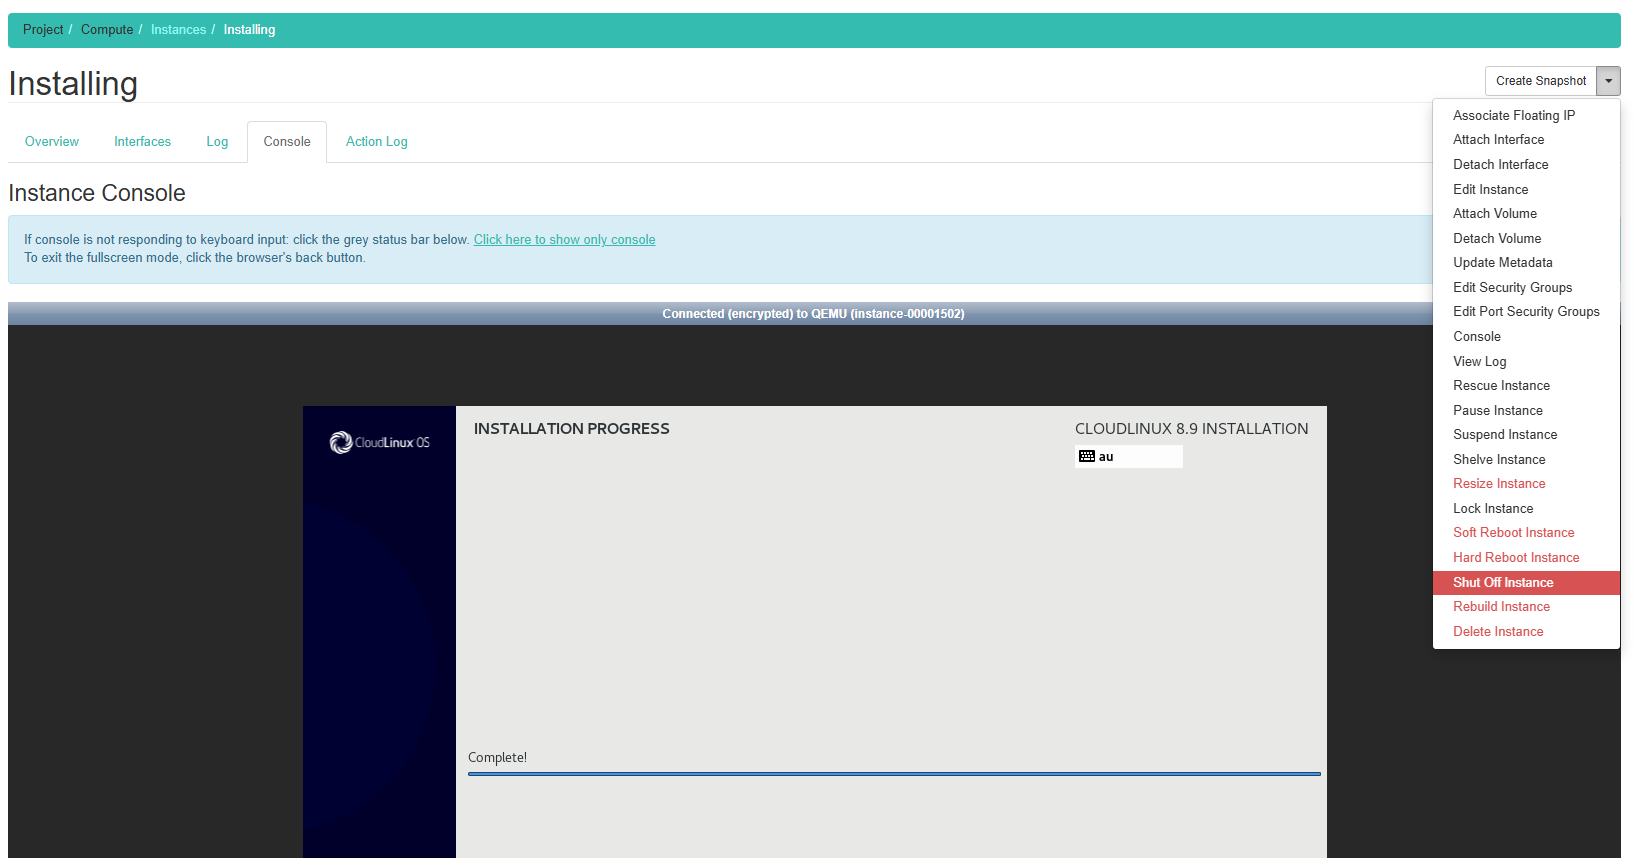
Open the drop-down menu again, and this time select "Console"
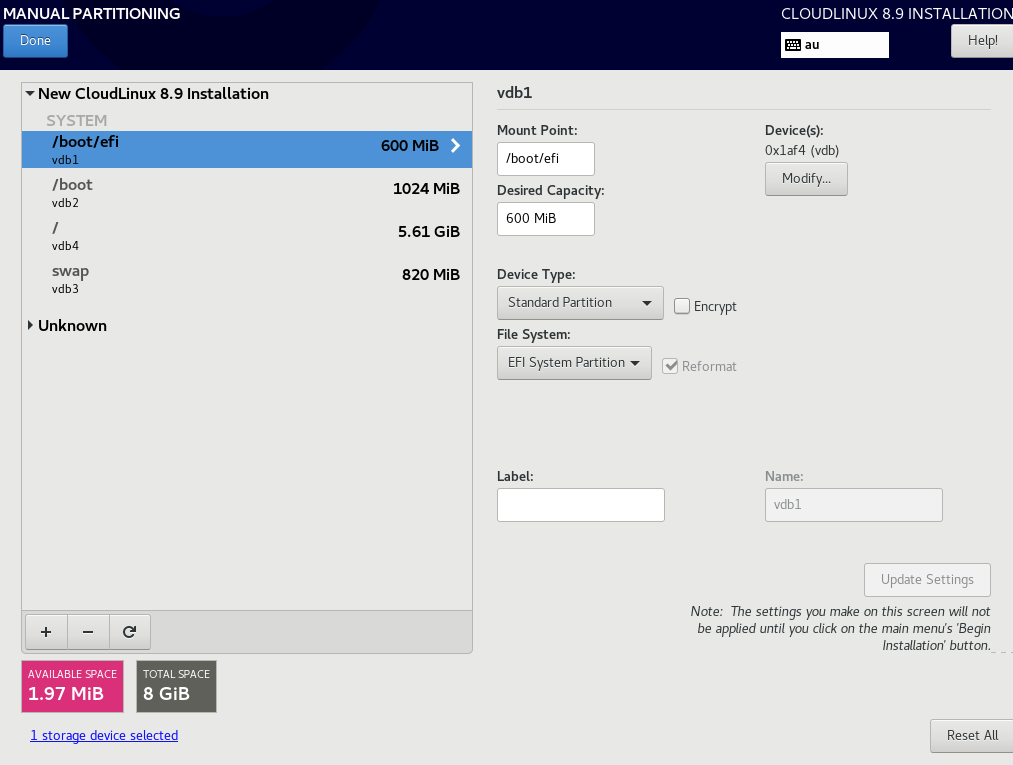
Inside the Console, Follow the standard installation method for your Operating system. Some OS may require that you manually configure partitions. In these cases, you will need to refer to the OS documentation for details on how to complete the configuration.
Once you have completed the installation, shut off the VM instance from the dropdown menu at the top right.
Next, Navigate back to Project > Compute > Instances
Delete the temporary instance created earlier in the guide (From step 11)
Navigate to Project > Volumes > Volumes. Click on the previously blank volume you created (Now with an OS installed on it)
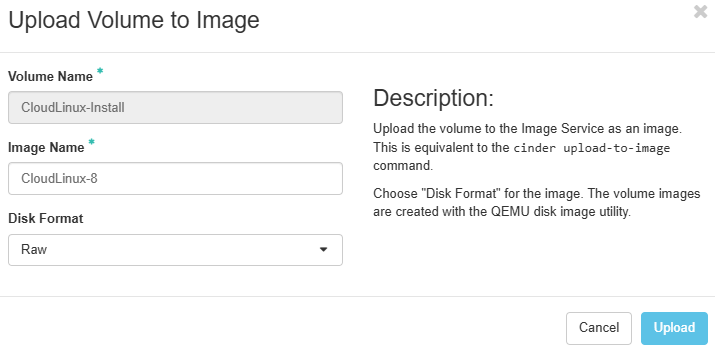
On the install volume page, open the drop-down menu and select "Upload to Image". Give it the desired name, and leave the disk format as "Raw"
Wait for the upload to complete, then navigate to Compute > Images
Locate the Image you just created and from its drop-down menu select ‘Edit Image’
Set Description and Visibility as required, then click Next
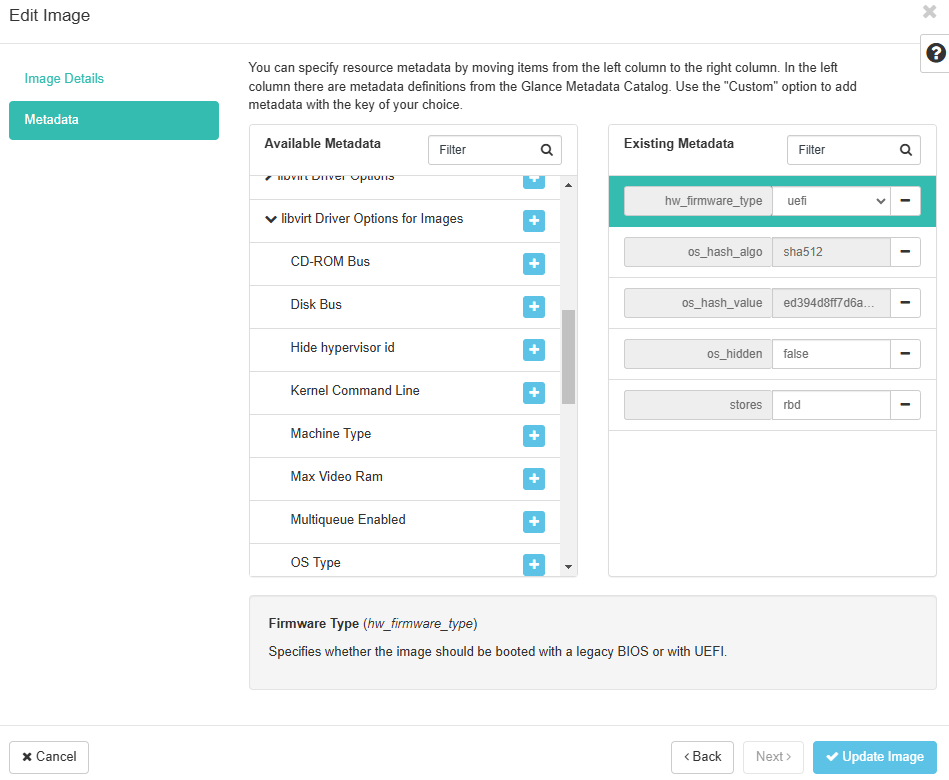
On the left, unbranch "libvirt Driver Options for Images" and click the + on Firmware Type. On the right-hand side, set the firmware type to match what you set when you uploaded the ISO. Click Update Image
Note: if you didn't set this when you uploaded the ISO, you shouldn't need to set it here. If this setting is unset, the system will assume BIOS mode
You can now use this image to deploy instances as described in our "How to Create a VM Instance from Image":
https://support.micron21.com/kb/articles/358-how-to-create-a-vm-instance-from-an-image-in-mcloud
Note: Unfortunately instances generated from images made in this manner will need to have things like IP address, disk resizing, hostnames and SSH keys manually applied, and will most likely ignore cloud-init as well.